Facial serums are formulated to provide delicate facial skin with targeted nutrition to meet specific skincare needs. They are concentrated, omitting the extra ingredients often found in lotions and creams. Serums can both nourish and hydrate the skin, and provide the highest concentration of active ingredients, much more than most other facial care products. They are fast-absorbing and designed to address specific issues you may be experiencing with your skin. Think of facial serums like vitamins. You select your vitamins to address specific health needs, and you should apply this process to choosing facial serums, too, to address specific skin needs.
Should you add a facial serum to my regimen? Short answer, Yes. While moisturizers hydrate the skin, serums nourish from deep within and and work to target specific skin ailments. Many people are hesitant because they are scared of oils. However, if you are choosing the right serum for your skin type, the oil will be okay- yes even if you are prone to oily skin. Using a serum can actually help regulate your natural sebum production, helping your skin to not overproduce oil.
To use a serum and maximize it's benefits, cleanse the skin well for 2 minutes. Using a toner after cleansing will help the serum spread more evenly and work into the skin quickly. Apply a few drops of serum and massage all over face, neck and chest. Finish your routine with a plant based moisturizer to lock in the active ingredients. Remember you can layer up different serums to tackle various issues too!
Avapure offers three serums.
The original Facial Serum which contains antioxidant rich raspberry and blackberry seed oil, this one is best for normal to dry skin types.
The Beautifying Serum contains Amazonian Lily extract which is nourishing, giving the skin a smooth and supple appearance. Its rich composition provides deep conditioning and moisture while also having a detoxifying effect on the skin. This one is perfect for all skin types.
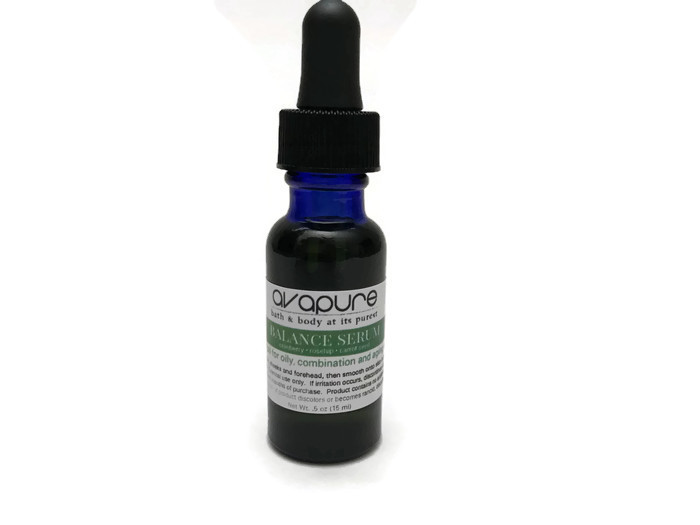
The Balance Serum is perfect for normal to oil skin types. This serum is formulated with oils that help regulation the skin’s natural sebum production.
Find my group https://www.facebook.com/groups/avapurebb/ to learn more about facial serums and other green beauty tips.